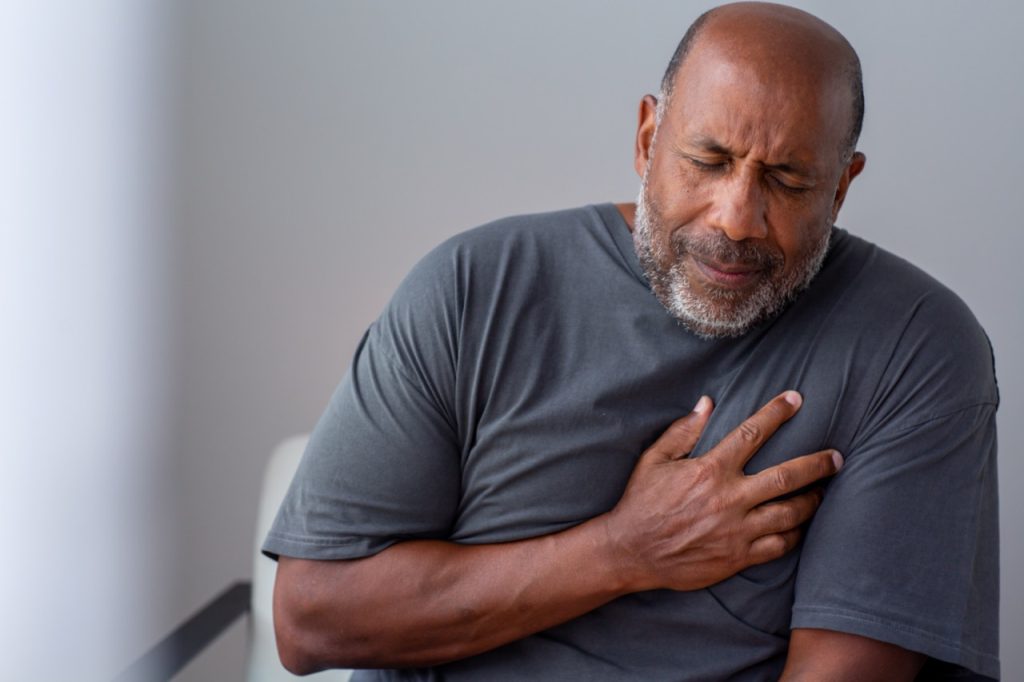
Did you know that in the United States, someone has a heart attack every 40 seconds? Knowing the signs of a heart attack and what to do if you or someone around you were to experience one can be the difference between life and death.
Most heart attack deaths happen within the first hour of occurring, which is why immediate action matters and can significantly improve survival rates. In this blog, we’ll cover how to recognize heart attack symptoms and the emergency steps to take in those critical first moments.
Recognize the Warning Signs Immediately
The most important thing you can do to protect yourself and those around you is knowing the signs of a heart attack. Acting promptly and not hesitating when you suspect a potential heart attack is critical to survival.
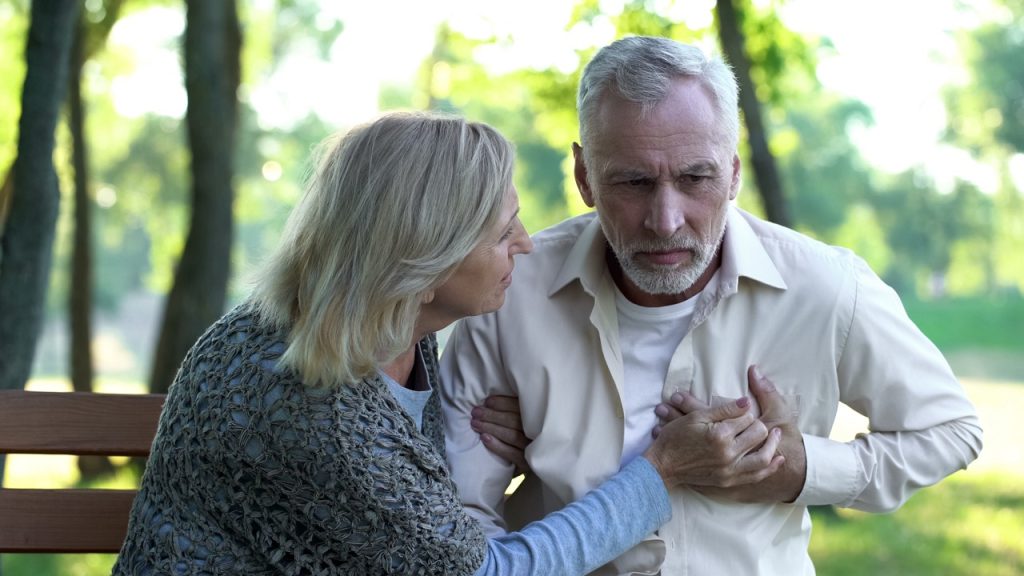
Here are the main warning signs of a heart attack:
- Chest pressure, squeezing, or discomfort
- Pain radiating to arm, jaw, or back
- Shortness of breath
- Nausea, lightheadedness, cold sweat
Note that symptoms vary and can be subtle (especially for women).
Learn More: 10 Early Signs of a Heart Attack You Should Never Ignore
Quick Steps to Take in the First Minutes of a Heart Attack
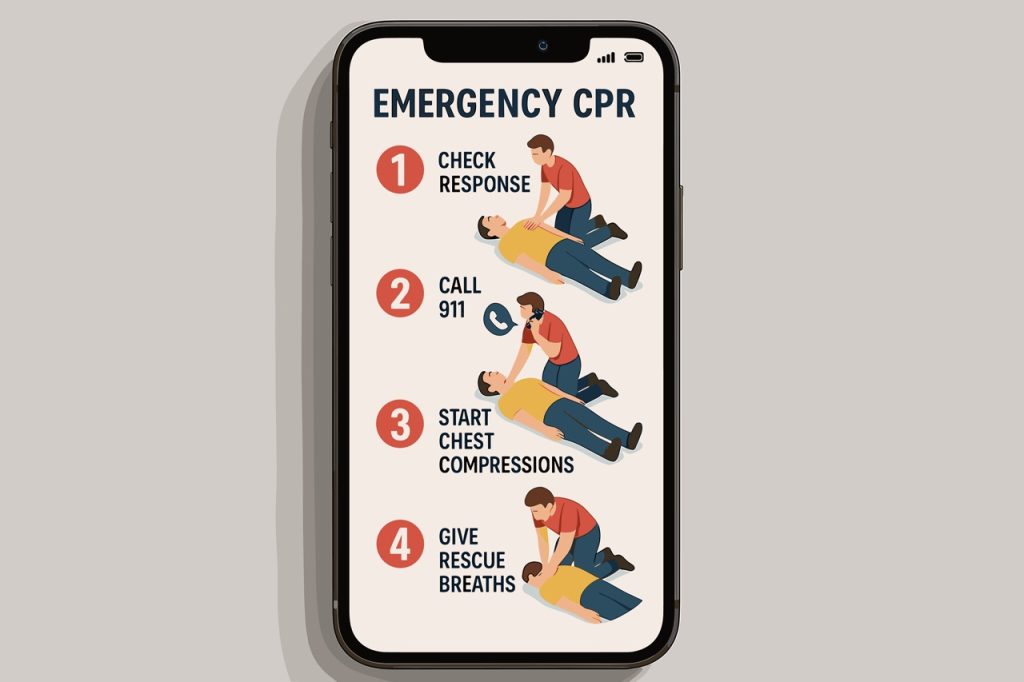
Call 911 Right Away
If you or someone is experiencing signs of a heart attack the first thing to do is call 911. You may think you are fine to drive, but it’s one of the most dangerous things you can do if you are indeed having a heart attack. Having someone else drive may seem like an okay option, but being in the hands of EMS and medical professionals is the safest scenario because, in the event of a heart attack, monitoring, oxygen, and defibrillator use can be critical components of effective treatment.
In short, calling 911 first is the most important step.
Related: Be Prepared for Emergencies Until Help Arrives
Keep the Person Calm and Seated
Whether you are experiencing symptoms yourself or someone around you, once emergency services have been contacted, it’s imperative to remain calm. Staying still will lower the heart’s workload. Remain seated, rather than lying down; staying in a slightly upright position is considered best as it helps keep airways open and can reduce strain on the heart and lungs.

Give Aspirin
Emergency services recommended chewing 1 regular-strength aspirin if you are experiencing a heart attack. Doing so while waiting for professional medical attention can help slow clot formations.
Please note that aspirin should not be administered to individuals with allergies, bleeding disorders, or if told otherwise by their provider.
Women: Do you Know These Silent Heart Attack Symptoms?
Start CPR if the Person Becomes Unresponsive
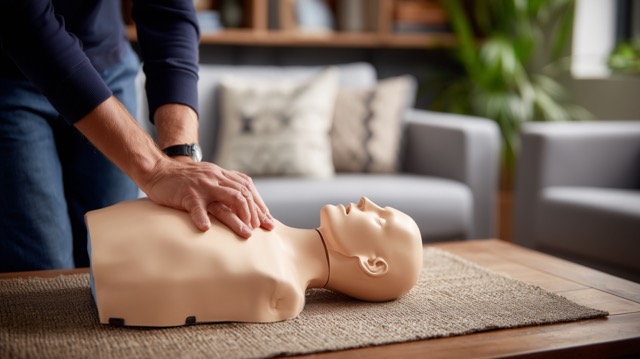
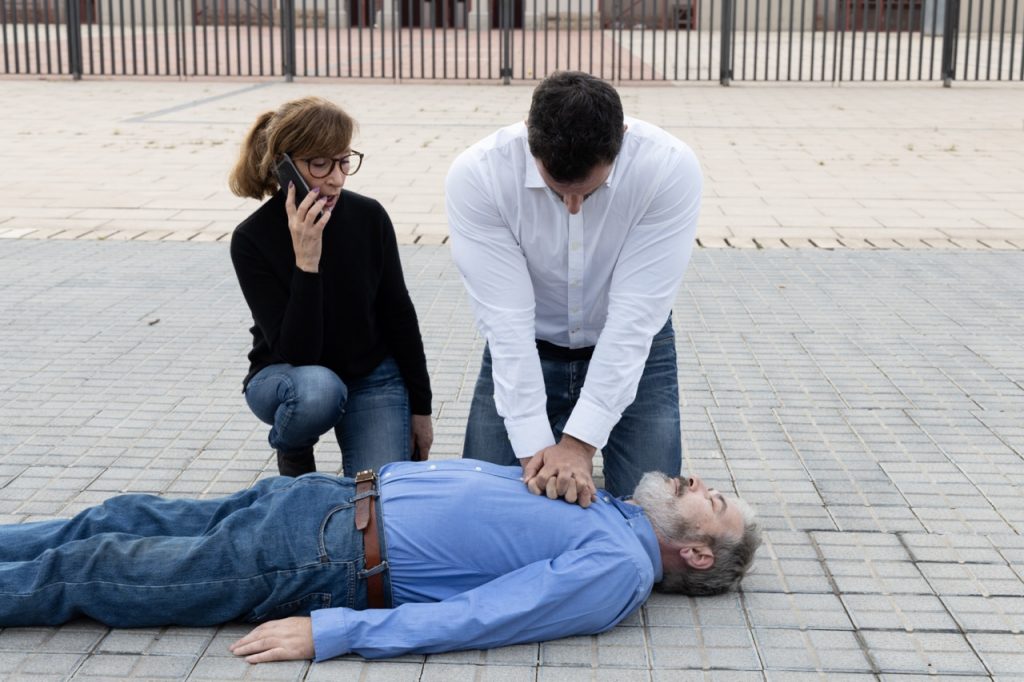
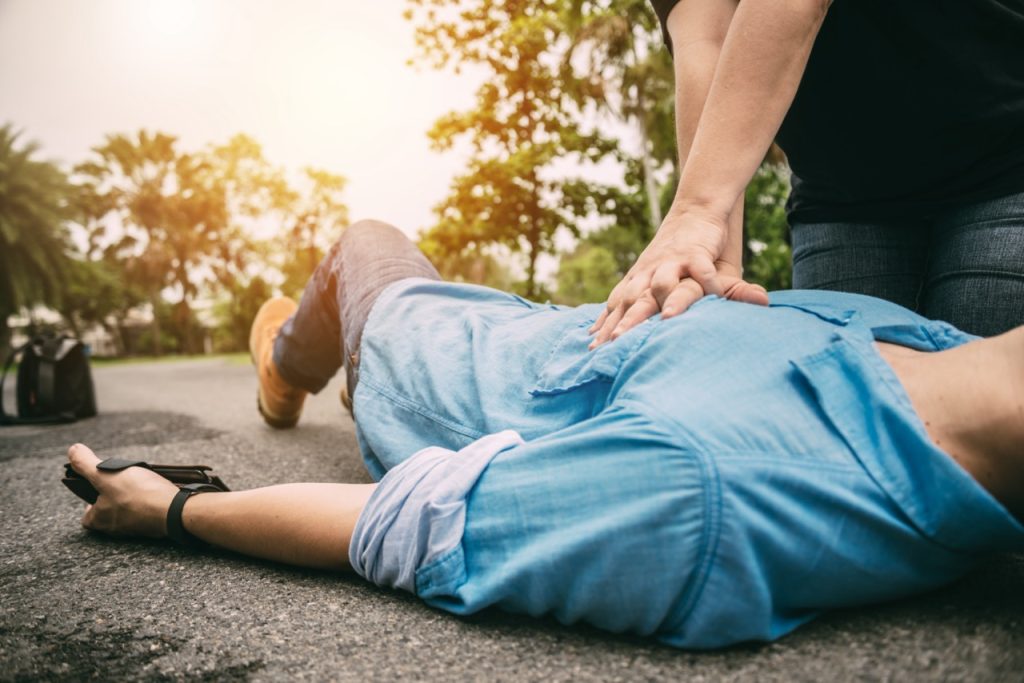
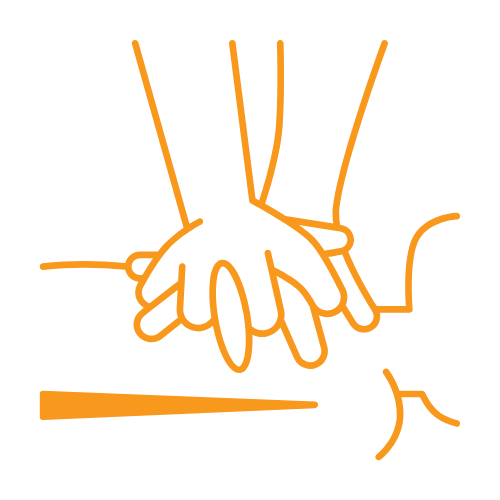
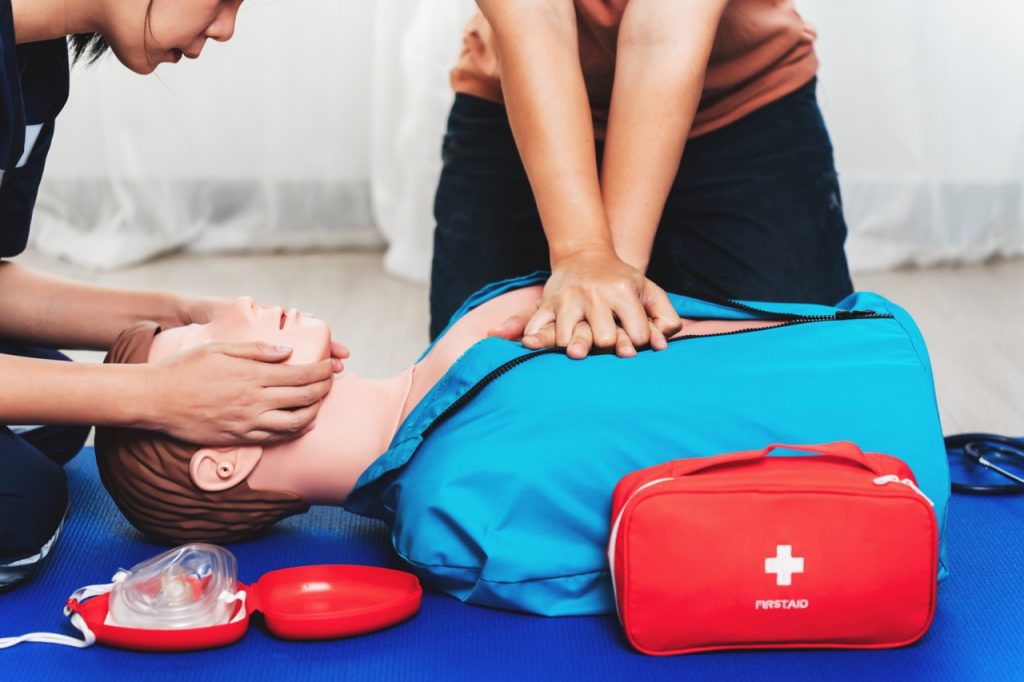
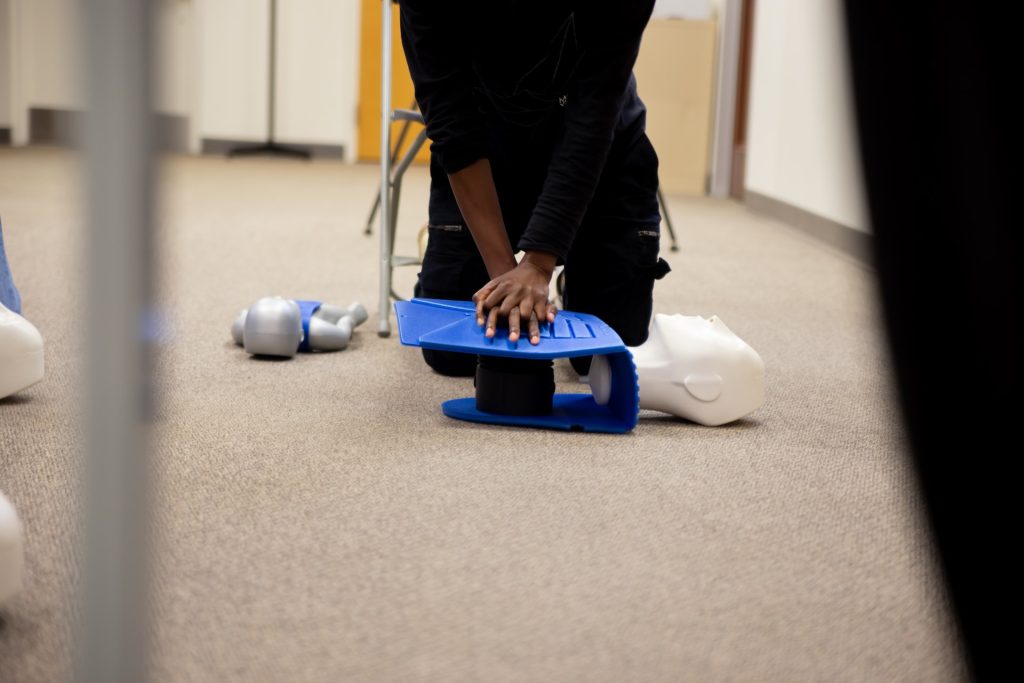
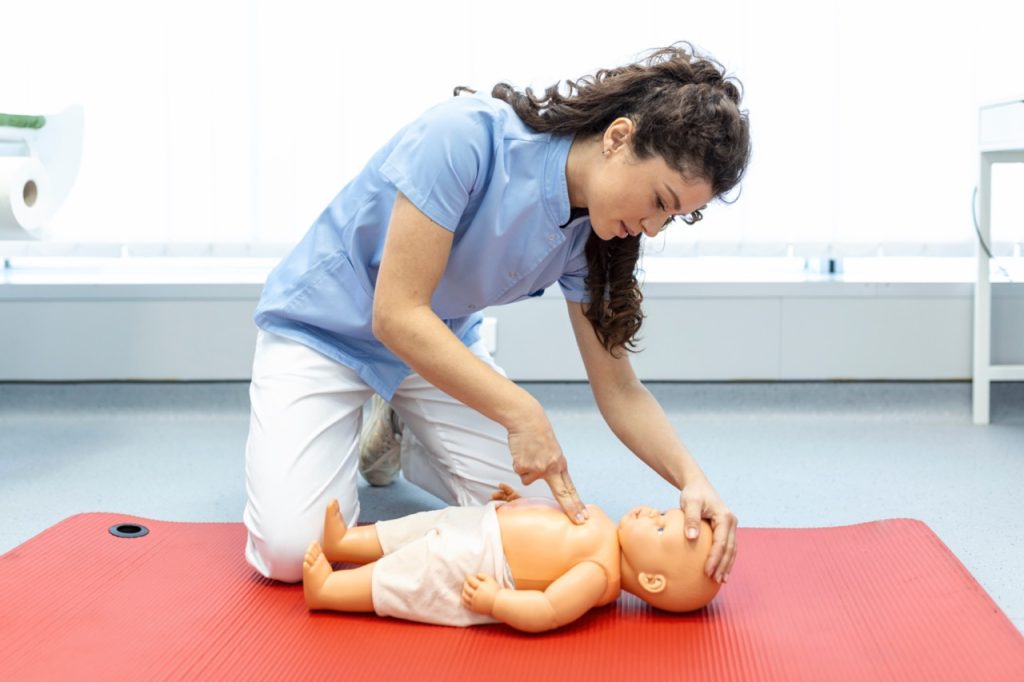
If the person experiencing a heart attack becomes unresponsive, you should perform CPR. CPR helps keep blood flowing to vital organs until emergency responders arrive.
Let’s quickly review the difference between a heart attack and cardiac arrest.
A heart attack occurs when blood flow to the heart is blocked, but the heart may still be beating.
Cardiac arrest, on the other hand, happens when the heart suddenly stops beating altogether, causing the person to collapse and lose consciousness. When cardiac arrest occurs, CPR and an AED are needed right away to improve the chance of survival.
Learn more about the Difference Between Heart Attack and Sudden Cardiac Arrest
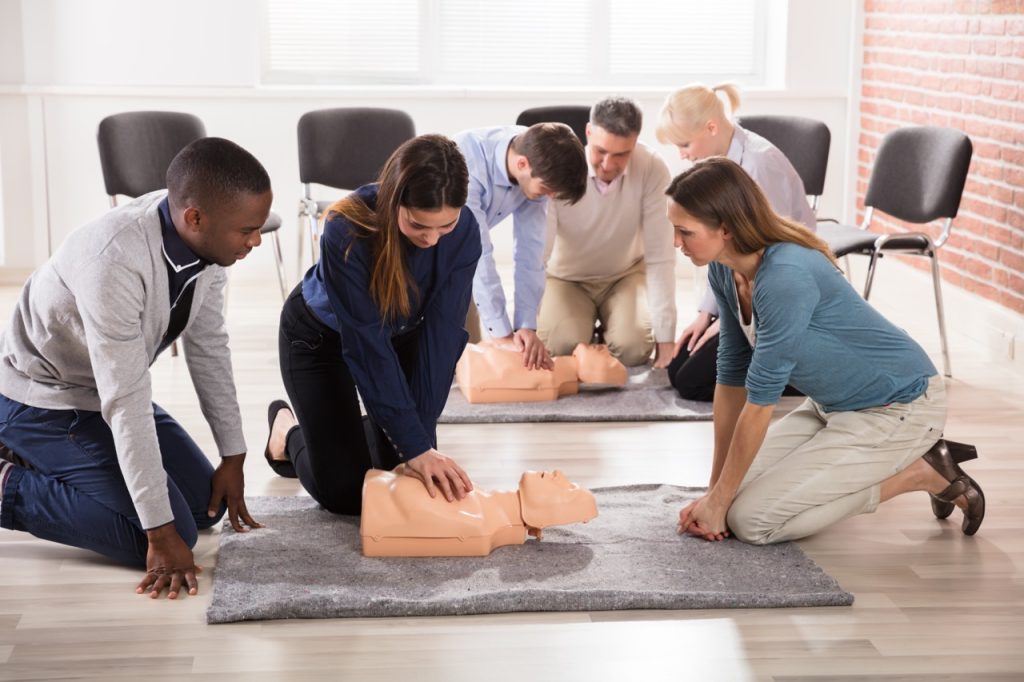
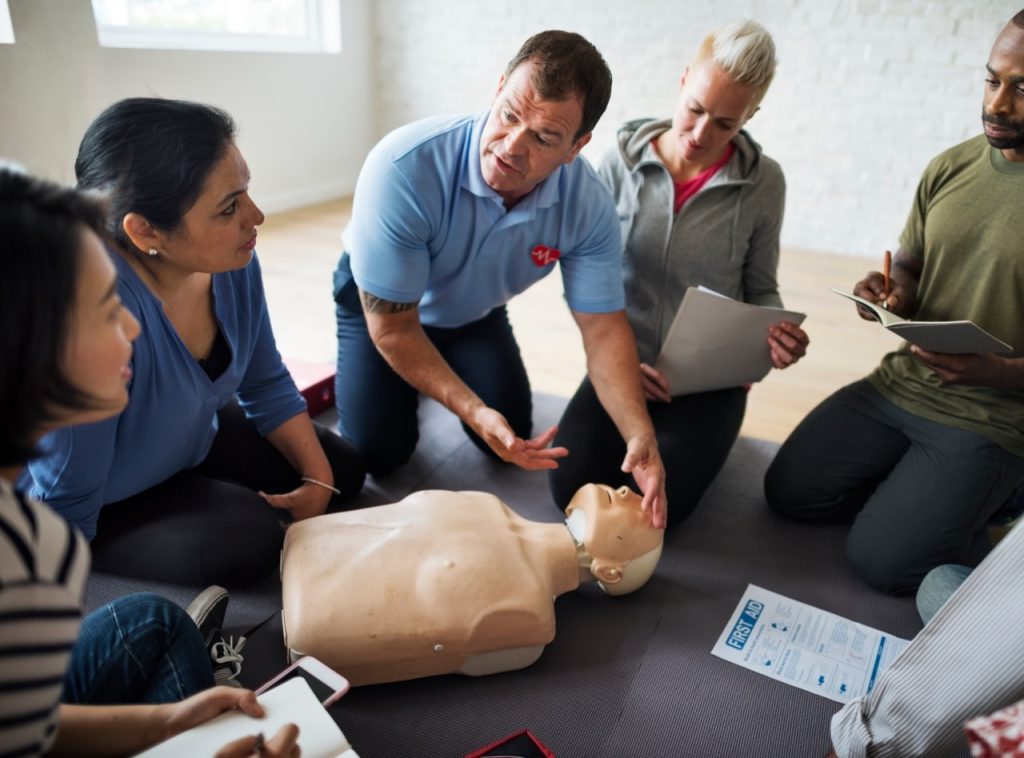
Learning how to respond quickly in these situations can make all the difference. CPR training equips you with the skills and confidence to take action when every second counts, helping you potentially save a life.
5 Reasons Why Everyone Should Know CPR
Use an AED if One Is Available
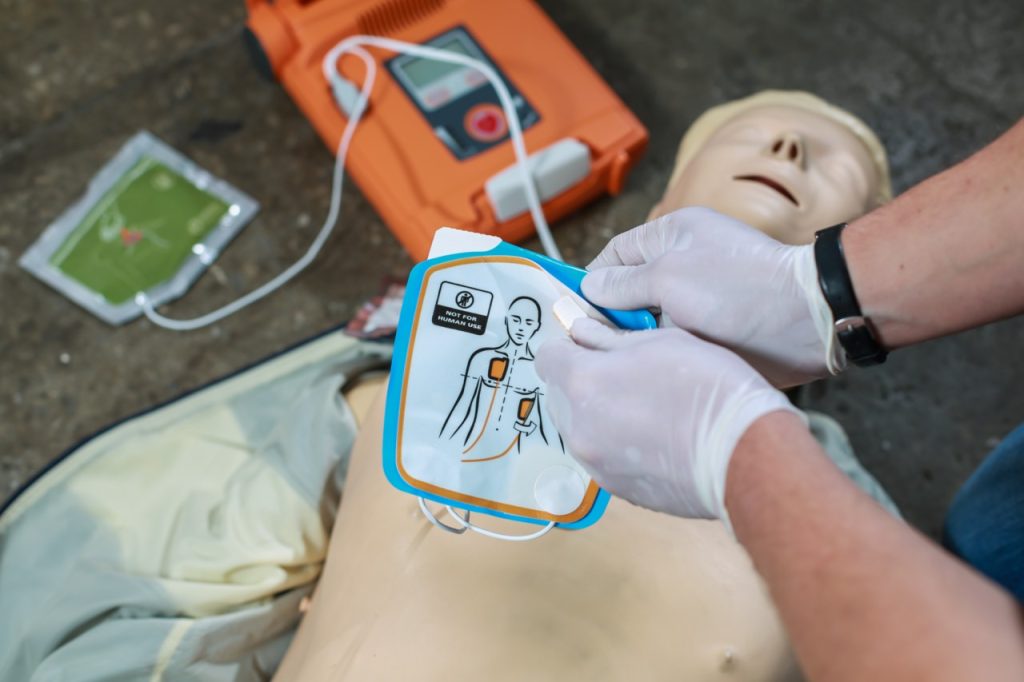
AEDs are designed for use by the general public; they provide easy-to-follow prompts that guide you step by step through the process. They are safe to use on adults and children over one year old, making them a critical tool for any emergency. Having an AED on-site is important for both businesses and households, as it can significantly improve a person’s chance of survival in a cardiac emergency.
What Not to Do During a Heart Attack
- Do not delay calling 911.
- Do not give food or drinks.
- Do not drive the person to the hospital.
- Do not encourage them to “walk it off” or wait symptoms out.
Why the First Minutes Matter
Acting quickly and decisively in those first minutes of a heart attack is critical for many reasons. The first being, the sooner you act, the faster you can receive medical attention and access to lifesaving treatments. EMS professionals can deliver early interventions before you reach a hospital, which can reduce heart damage and lead to higher survival rates.
As highlighted in an article from Baptist Health, survival rates for heart attack patients have improved dramatically over the past decades. In 1970, someone over 65 hospitalized for a heart attack had roughly a 60% chance of leaving the hospital alive. Today, that chance exceeds 90%, with even higher survival rates for younger patients.
Acting quickly gives patients the best chance for the same improved outcomes seen today.
Be Prepared Before an Emergency Happens
We often assume a medical emergency won’t happen to us or someone we care about, and unfortunately, many times it’s too late before we realize just how important preparedness is. Being ready and knowing what to do can make a real difference.
Take these steps today to be prepared:
- Learn CPR and AED skills
- Keep aspirin accessible
- Know building AED locations
- Encourage family and/or workplace safety planning
Strengthen Your Emergency Response Skills With HeartCert
Knowing what to do in the event of a crisis and having proper training on how to respond can drastically improve the survival rate for someone experiencing a heart attack, cardiac arrest or another medical emergency. Trained individuals respond faster and more confidently. HeartCert offers flexible, comprehensive training, including CPR, BLS, AED, and more, so you can gain the knowledge and critical skills needed to act effectively when it matters most.
Register for a class today and take the first step in strengthening your emergency response skills.
Sources:
https://med.stanford.edu/news/all-news/2025/06/heart-attack.html
HeartCert is your trusted training partner for CPR, ACLS, PALS, EMR, First Aid, CNA, TMA, IV, EKG and more, throughout the United States.
Courses include CPR/AED/First Aid, Basic Life Support (BLS), Advanced Cardiac Life Support (ACLS), Pediatric Advanced Life Support (PALS), Certified Nursing Assistant training, IV training, EKG training, babysitter basics and more. Courses and certifications from both the American Heart Association and American Red Cross are available. We offer virtual courses and certifications, in all 50 states as well as in-person classes at our headquarters, HeartCert CPR Eagan and major cities in Iowa, Illinois, Michigan, Minnesota, Missouri, Mississippi, Nebraska, Pennsylvania, Texas and Wisconsin.

